
Introduction
Dreaming of a new roof that’s both durable and visually appealing? Whether you’re a seasoned DIY enthusiast or a homeowner looking to take matters into your own hands, installing Onduline bitumen roofing sheets is a fantastic project to undertake. This guide will walk you through everything you need to know, from understanding what these sheets are to the step-by-step installation process. Get ready to transform your home’s roofing with our expert insights.
What Are Onduline Bitumen Sheets?
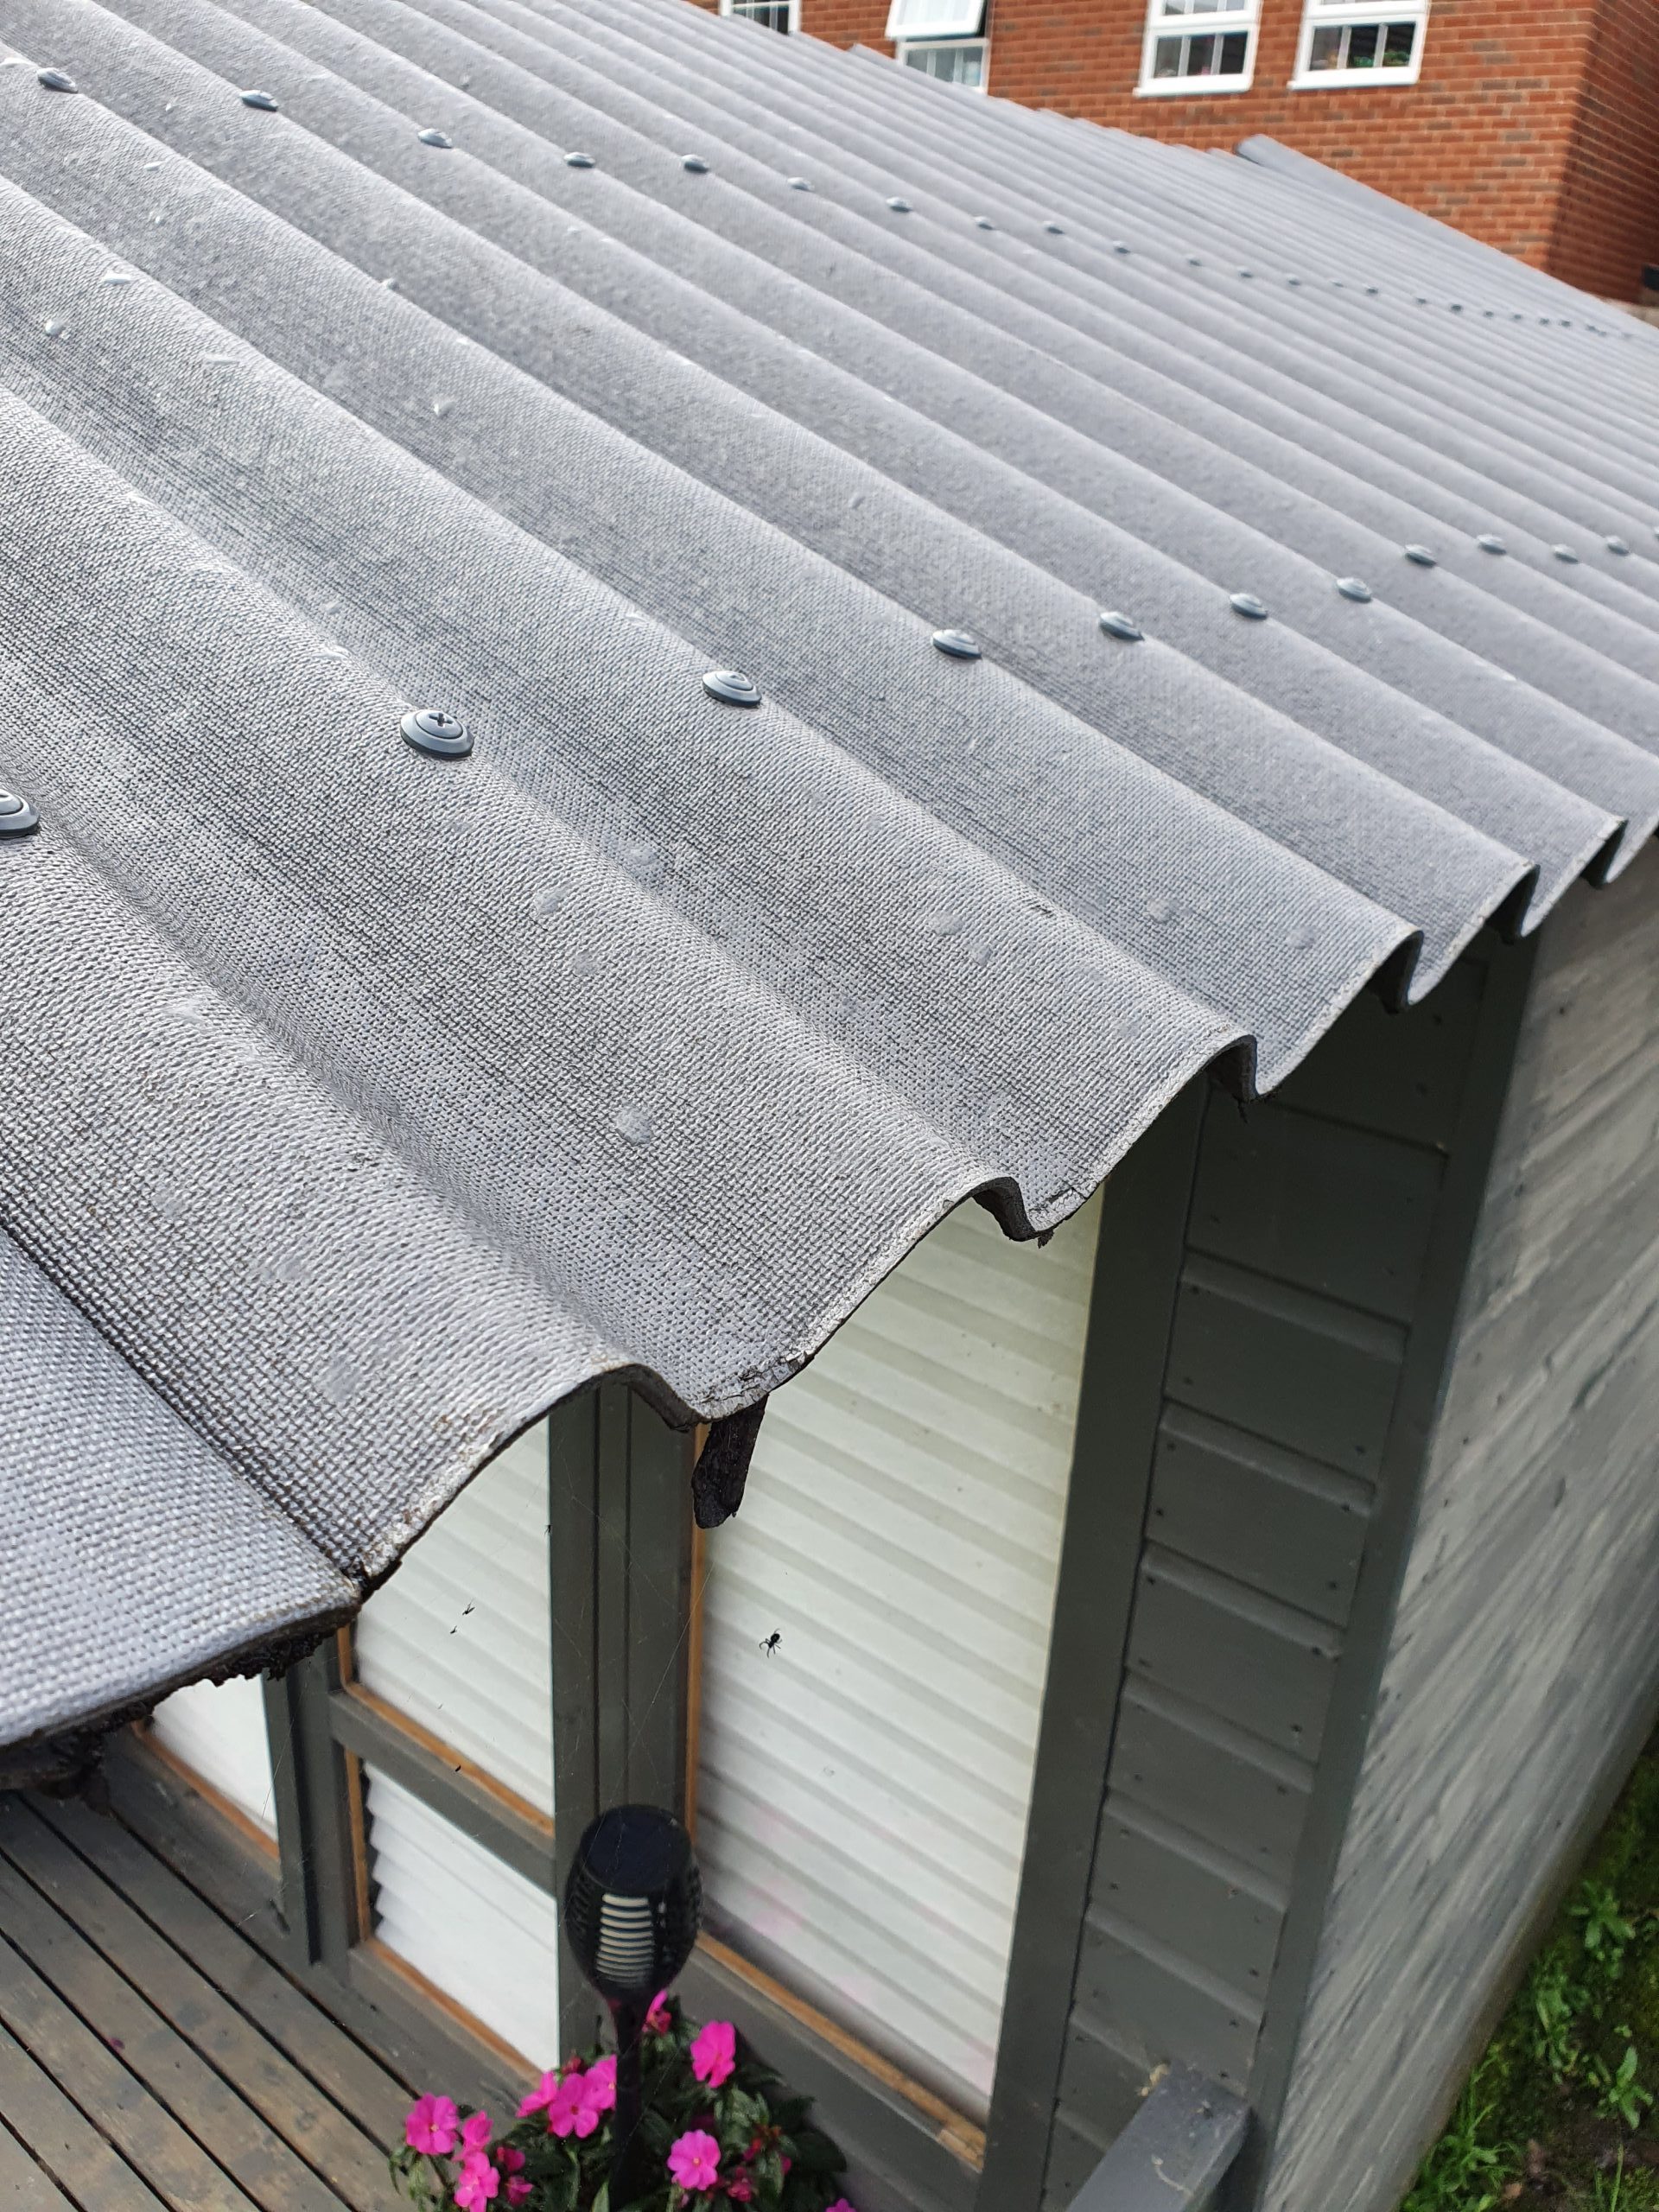
Onduline bitumen sheets are a popular roofing material known for their durability and versatility. Made from a blend of cellulose fibres and bitumen, these corrugated sheets offer superior waterproofing and insulation properties. But what exactly makes them so special?
Composition and Structure
Onduline sheets are crafted from organic fibres saturated with bitumen. This unique composition gives them a natural waterproof quality, making them an ideal choice for roofing applications. The corrugated structure not only adds strength but also enhances their ability to shed water quickly.
Thermoplastic and Viscoelastic Properties
One of the standout features of Onduline sheets is their thermoplastic nature. They become liquid at high temperatures (above 150°C) and solidify at ambient temperatures. This property allows them to adapt to temperature changes, ensuring longevity. Additionally, their viscoelastic characteristic means they can absorb sound by converting vibration into heat, providing excellent noise reduction.
Eco-Friendly Credentials
In today’s eco-conscious world, Onduline sheets shine brightly. They are composed of approximately 50% recycled content, making them an environmentally friendly choice. Choosing Onduline means you’re not only investing in a durable product but also supporting sustainable practices.
The Positives of Onduline Bitumen Sheets
Why should you opt for Onduline bitumen sheets? Here are some compelling reasons:
Excellent Waterproofing Performance
Onduline sheets are inherently waterproof and insoluble in water. This natural waterproofing ability ensures your home remains dry and protected even during heavy rains.
Temperature Regulation
In warm weather, Onduline sheets help maintain a comfortable temperature inside your building. Their thermoplastic nature allows them to expand and contract with temperature changes, preventing cracks and leaks.
Sound Absorption
Thanks to their viscoelastic property, Onduline sheets can absorb sound effectively. This makes them an excellent choice for homes in noisy environments, as they help create a quieter indoor space.
Different Applications
Onduline bitumen sheets are incredibly versatile and can be used in various applications. Here’s a look at some common uses:
Residential Roofing
Whether you’re reroofing your home or constructing a new one, Onduline sheets provide a durable and aesthetically pleasing option. They are available in various colours, allowing you to match your home’s exterior.
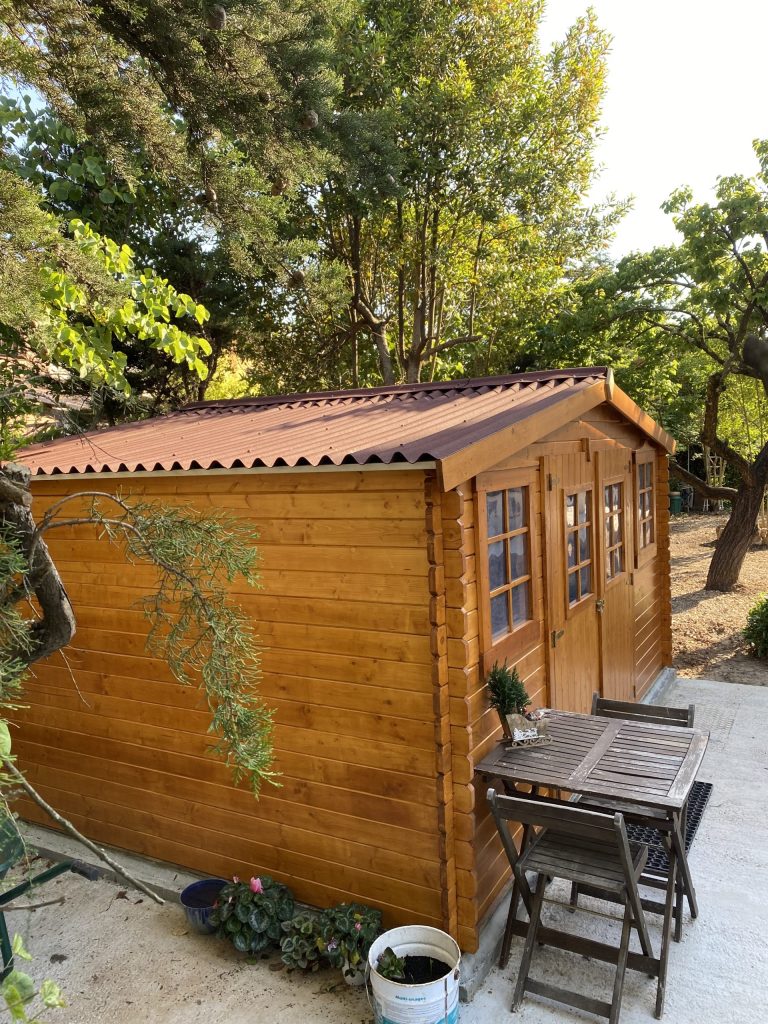
Garden Sheds and Outbuildings
For garden sheds, garages, and other outbuildings, Onduline sheets offer an affordable and reliable roofing solution. Their lightweight nature makes them easy to handle and install.
Agricultural Buildings
Farmers and agricultural businesses can benefit from Onduline sheets for barns, stables, and storage buildings. Their excellent waterproofing and sound absorption properties make them ideal for protecting livestock and equipment.
Installation Guide
Ready to get hands-on? Follow these steps to install Onduline bitumen roofing sheets:
Step 1: Preparation
Before you start, ensure you have all the necessary tools and materials:
- Onduline bitumen sheets
- Hammer and nails or screws
- Tape measure and chalk line
- Utility knife or sheet cutter
- Safety gear (gloves, goggles, and a safety harness)
Step 2: Measure and Cut
Measure the area you’ll be covering and cut the Onduline sheets to size. Use a tape measure and chalk line to mark where you need to cut. A utility knife or sheet cutter works well for this task.
Step 3: Install the First Sheet
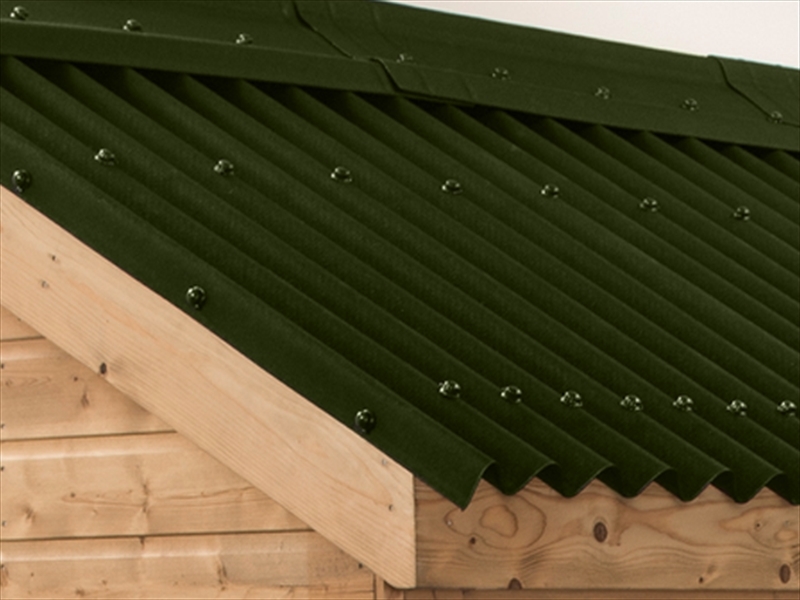
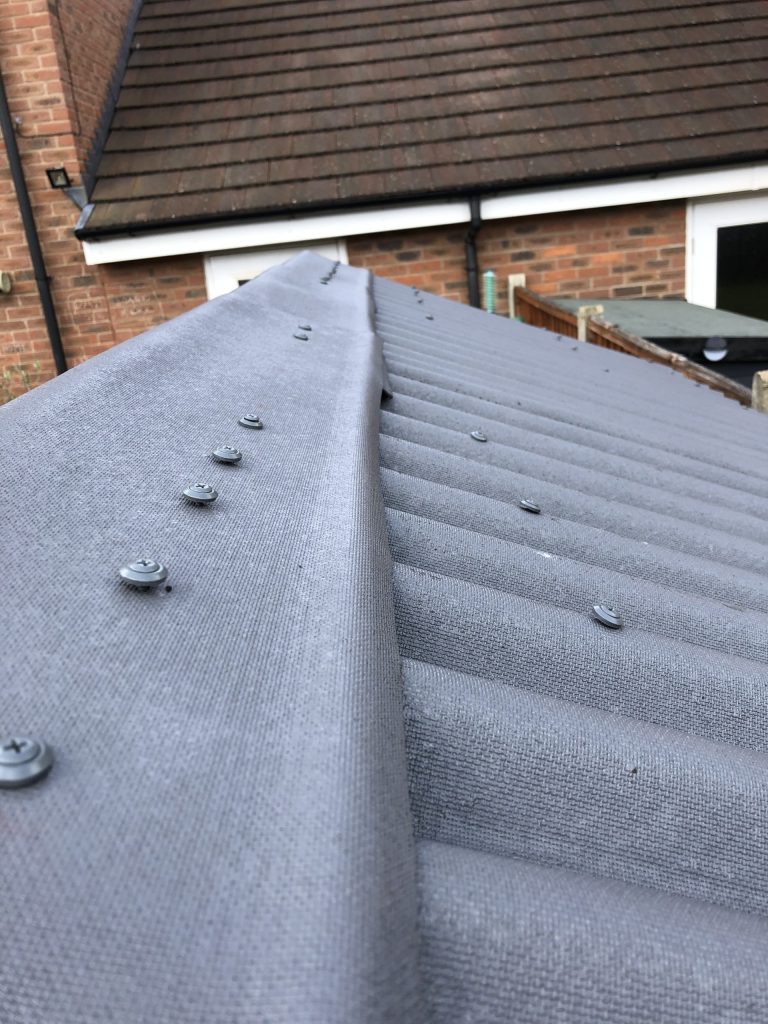
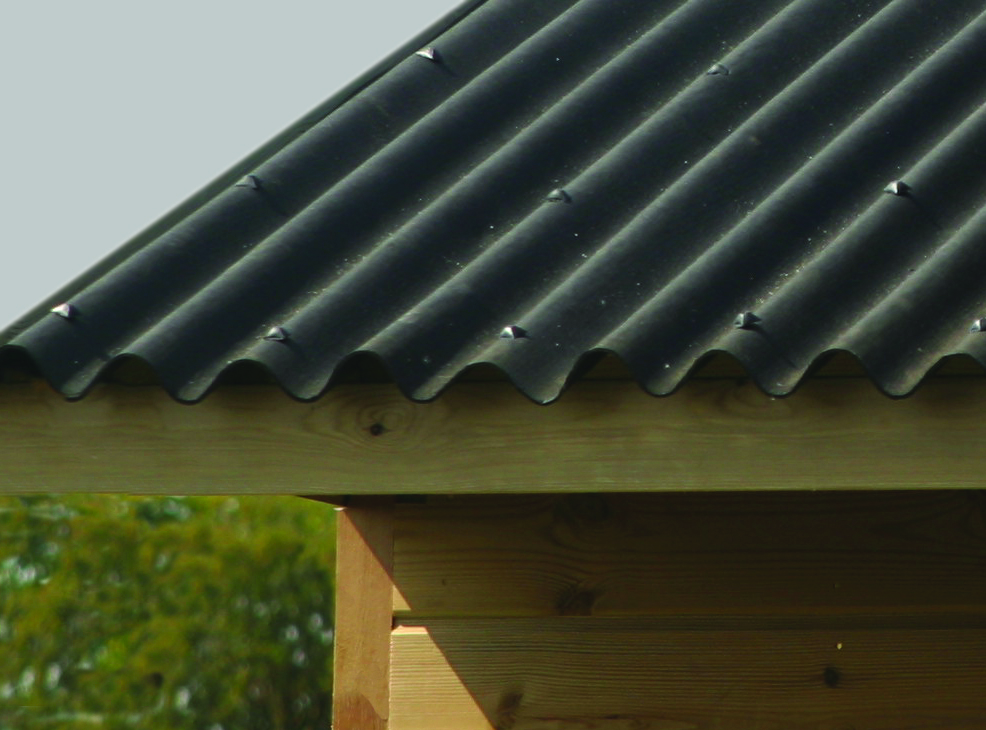
Start at the bottom edge of the roof and work your way up. Lay the first sheet so that it overhangs the edge of the roof by about 5 cm. Secure it in place with nails or screws, placing them on the ridges of the corrugation.
Step 4: Overlap and Secure
Overlap each subsequent sheet by at least one corrugation to ensure waterproofing. Secure each sheet with nails or screws, spacing them evenly along the ridges. Ensure the overlaps are consistent for a professional finish.
Step 5: Edge and Ridge Finishing
Finish the edges and ridge with appropriate accessories. Onduline offers a range of matching ridge caps and trims to complete the look and enhance waterproofing.
Step 6: Inspect and Maintain
Once installed, inspect your new roof to ensure all sheets are secure and overlaps are tight. Regular maintenance, including cleaning and checking for damage, will help extend the life of your Onduline roof.

Conclusion
Installing Onduline bitumen roofing sheets is a rewarding project that enhances your home’s durability and aesthetic appeal. With their excellent waterproofing, temperature regulation, and sound absorption properties, these sheets are a top choice for homeowners and DIY enthusiasts alike. Plus, their eco-friendly composition makes them a responsible option for the environment. Ready to start your roofing project? Gather your tools, follow our guide, and enjoy the benefits of a beautifully installed Onduline roof. If you need further assistance, feel free to reach out to our team or explore our blog. Happy roofing!