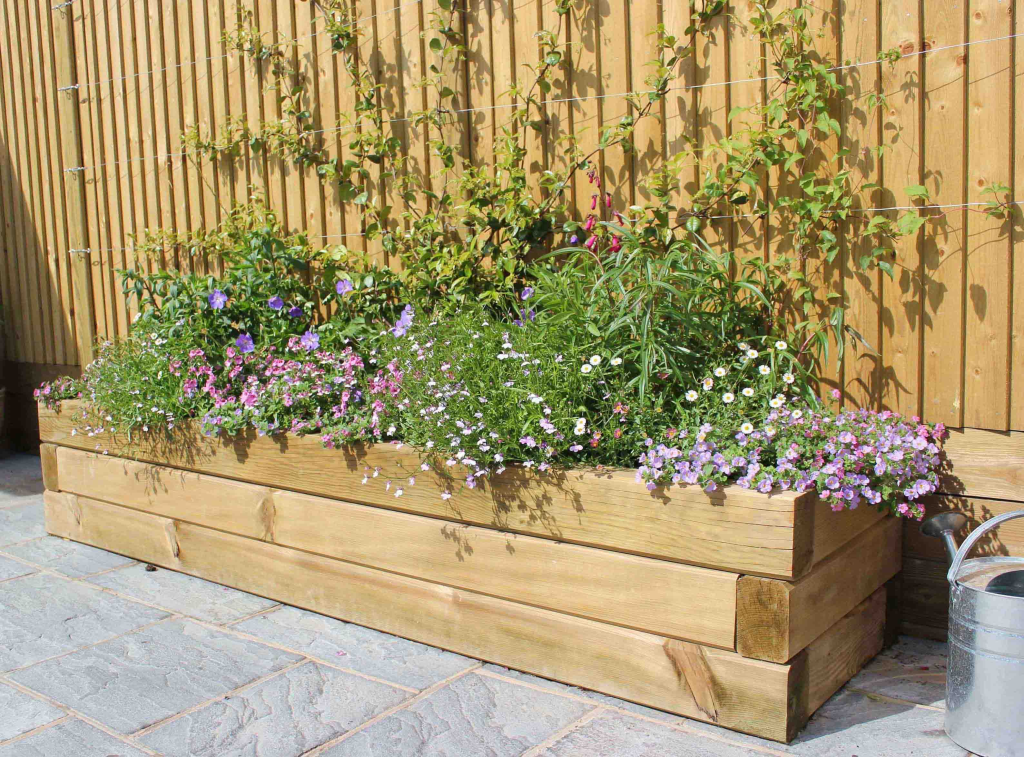
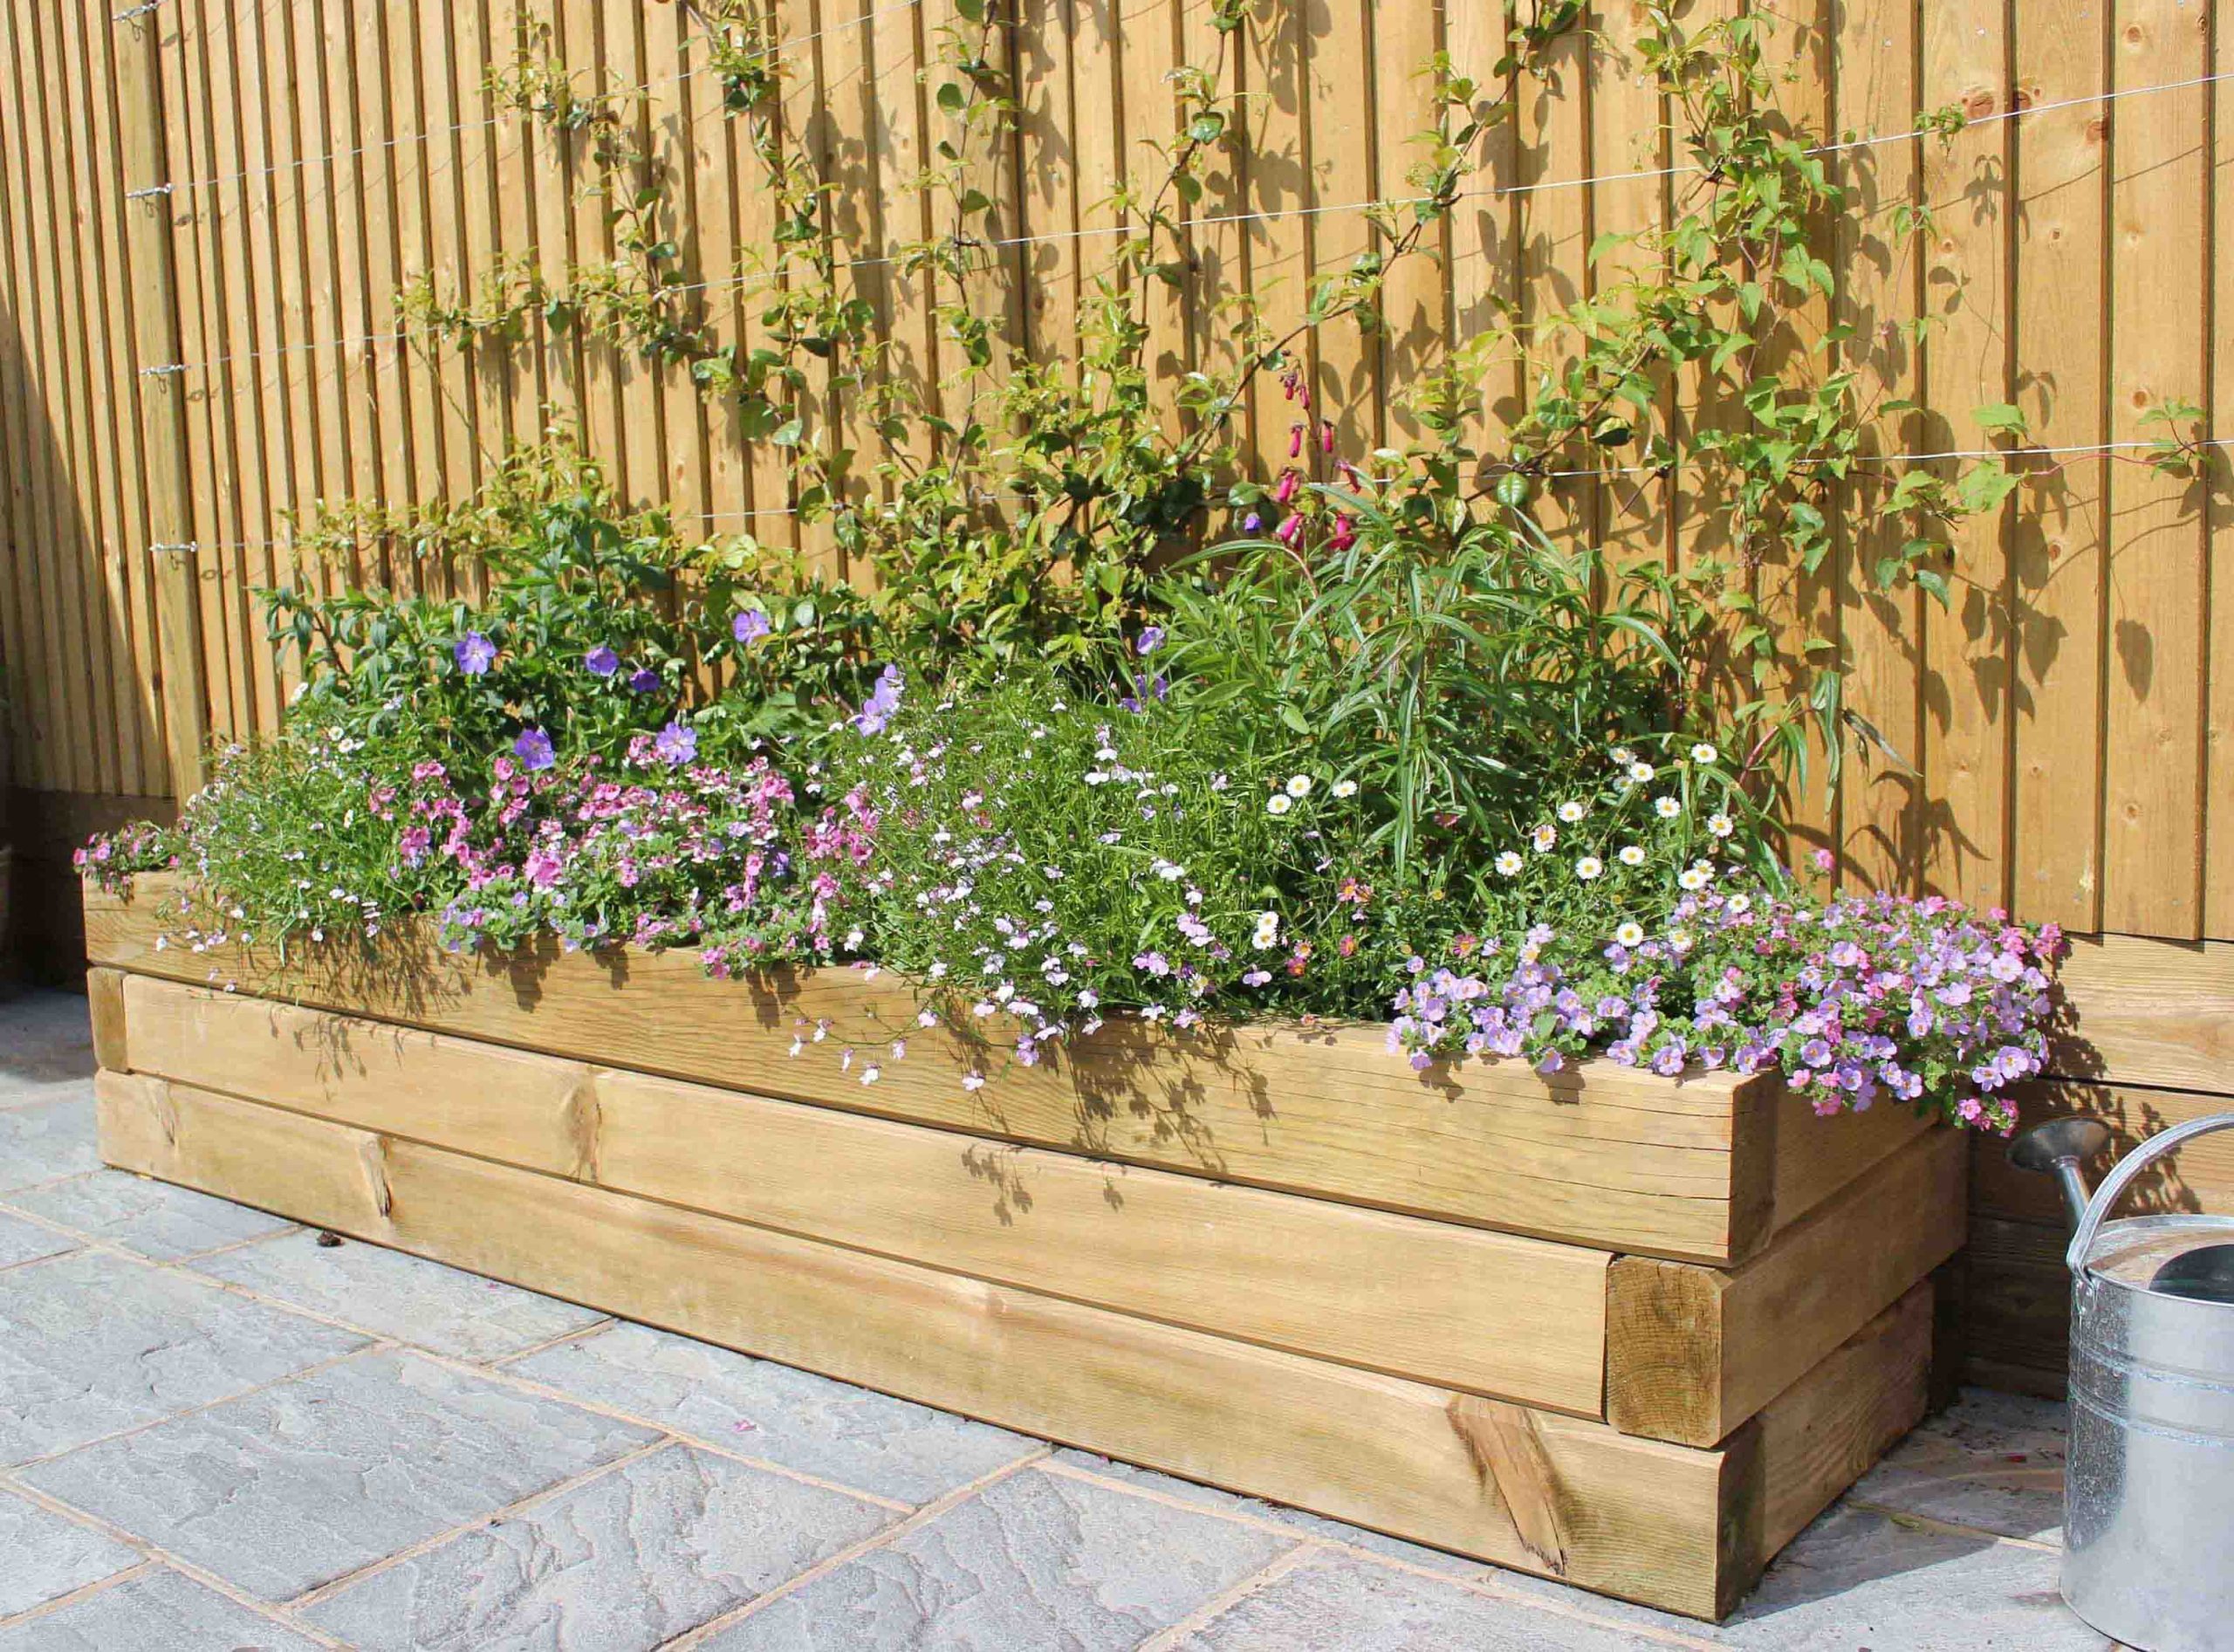
Are you ready to take your gardening skills to the next level? If you’re itching to grow your own veggies or flowers but are short on ground space or have poor soil conditions, a raised garden bed is your answer. Not only do they offer better drainage and easier access, but they can also make garden maintenance a breeze. Let’s dig into the details and get you started on building your very own raised garden bed!

Materials List
Before we start, make sure you have all the necessary materials:
- Untreated lumber (cedar or redwood) for the frame
- Galvanised screws or corner brackets for assembly
- Landscape fabric to prevent weed growth
- Gravel or small stones for drainage
- High-quality soil mix for filling the bed.
- Optional tools: a level, a handsaw or electric saw, and a drill.
If you’re after a bulkier, thicker base, then why not consider our rustic sleepers, or our sawn sleepers.
Step 1: Choose the Right Spot
Location, location, location! Pick a sunny spot in your garden where your new bed will thrive. Most plants require at least 6-8 hours of sunlight, so make sure you’re not tucking it away in a shady corner. Also, consider proximity to a water source. Trust me, you’ll want easy access when it comes time to water those thirsty plants!
Step 2: Plan Your Bed Size
Think about the size of your garden bed. The standard size for a raised bed is about 4 feet wide so you can easily reach the plants from either side. However, feel free to adjust according to the space available and your gardening goals. Just remember, bigger isn’t always better—make sure you’re comfortable reaching all areas of the bed without straining.
Step 3: Prepare the Ground
Level the ground where you plan to place your bed. This might require a bit of digging and raking to ensure the surface is even. Uneven ground can lead to your bed shifting over time, and no one wants a lopsided garden!
Step 4: Construct the Frame
Using your untreated lumber, cut the wood to the desired length and assemble the frame using galvanized screws or corner brackets. Cedar and redwood are great choices as they naturally resist rot and pests. If you’re new to DIY, take your time measuring and cutting; remember, measure twice, cut once!
Step 5: Weed-Proof the Base
Lay down a layer of landscape fabric at the bottom of your garden bed to prevent pesky weeds from invading your precious plants. While this step is optional, it can save you a lot of weeding time in the future.
Step 6: Ensure Proper Drainage
Add a layer of gravel or small stones at the bottom of the bed. This simple step ensures that water doesn’t pool at the bottom, which can lead to root rot. Proper drainage is key to a healthy garden!
Step 7: Fill with Quality Soil
Fill your constructed bed with a high-quality soil mix. The type of soil you use can make or break your garden, so choose one that’s rich in nutrients and suitable for the plants you intend to grow. You’ll thank yourself later when your plants are thriving!
Step 8: Plant and Maintain
Once your bed is filled with soil, it’s time to plant! Whether you’re sowing seeds or transplanting seedlings, make sure to follow specific planting instructions for each variety. Regular maintenance, such as weeding, watering, and replenishing soil, will keep your raised bed healthy and productive.
Final Thoughts
Building a raised garden bed is a rewarding project that offers numerous benefits for both novice and seasoned gardeners. By following these steps, you’ll create a sustainable and efficient gardening space that allows your plants to flourish.
Ready to get started? Grab your tools, gather your materials, and transform your gardening space today. Happy gardening!
Have questions or need a helping hand? Reach out to our gardening experts for personalised advice and tips. We’re here to help you grow a garden you’ll be proud of! 🌱

